
- Apps/
Sprocket
Table of Contents
Overview #
Sprocket is a small web app for scanning 35 mm film with a Plustek OpticFilm 8100 on Linux. Preview a frame, drag to crop, pick the film type, and scan. You get a finished JPEG plus the untouched 16-bit scan as a TIFF.
It drives the scanner through SANE’s scanimage, so there are no vendor drivers to install. Other OpticFilm models handled by SANE’s genesys backend (7200, 7300, 7400, 7500i, 7600i, 8200i) are detected too, but only the 8100 has been tested.

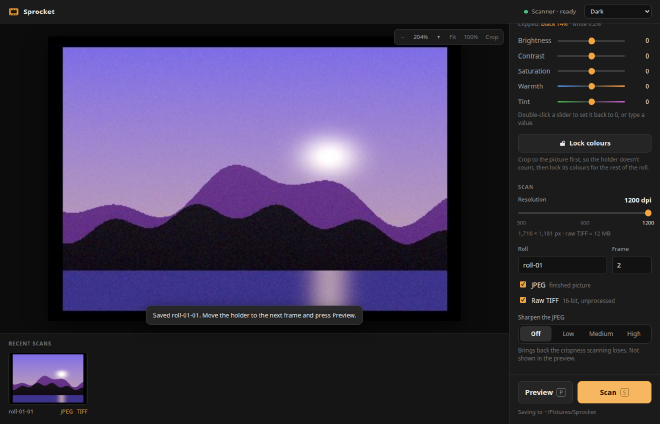
After a scan, the finished picture appears under Recent scans. The dark theme is shown here:
Click a scan to see it full size:
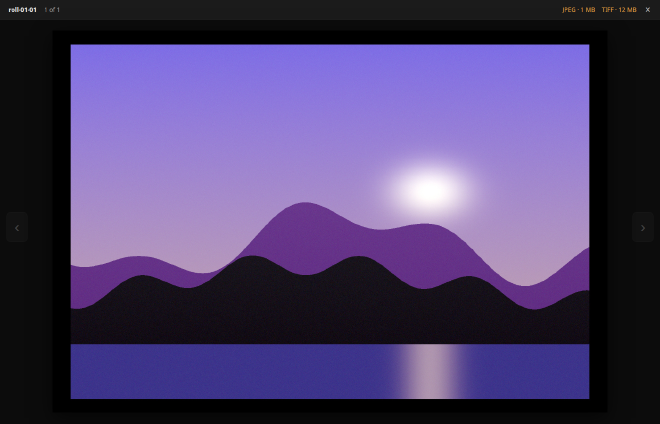
The screenshots were taken with a simulated scanner that returns a synthetic negative, so the scans are illustrations, not output from a real OpticFilm.
Features #
1. Preview, Crop and Zoom #
Press Preview to see the frame in about 18 seconds. Drag to crop out the holder’s edges, rotate or mirror the picture, and zoom into focus, grain or dust with the mouse wheel, pinch, or the keyboard.
2. Adjust Sliders #
Brightness, Contrast, Saturation, Warmth and Tint update the preview straight away, without scanning again. A histogram shows the share of pixels clipped to black or white.
3. Colour Presets and Locked Colours #
Save a look as a named preset, or press Lock colours on one frame so the rest of a roll is levelled the same way. The lock is kept across restarts.
4. Negative Conversion #
Negatives are converted to density, stretched between the clearest and densest parts of the frame, and the orange mask of colour film is cancelled channel by channel. Slides and B&W negatives have their own handling.
5. Two Files per Scan #
Each scan saves a finished JPEG for sharing and printing, and a 16-bit raw TIFF for doing your own conversion later in darktable, RawTherapee or Negative Lab Pro.
6. Themes #
Light, Dark, Dracula, High contrast (WCAG AAA text contrast) and Retro film scanner, or follow your computer’s setting.
Running It #
Requirements are Linux with SANE’s command-line tools (sudo apt install sane-utils) and Python 3.10 or newer.
./run.sh # the first run sets up a Python environment in .venv
Then open http://localhost:8800. Options include --open, --output DIR, --port N, --device NAME and --debug.
Ready-made Docker images for linux/amd64 and linux/arm64 are published to GitHub Container Registry, so a Raspberry Pi next to the scanner works too:
docker run -d --name sprocket --restart unless-stopped \
  -p 8800:8800 \
  -v ~/Pictures/Sprocket:/scans \
  -v /dev/bus/usb:/dev/bus/usb --device-cgroup-rule='c 189:* rmw' \
  --user "$(id -u):$(id -g)" --group-add "$(getent group scanner | cut -d: -f3)" \
  ghcr.io/c0wrat/sprocket:latest
There is no login, so only use --host 0.0.0.0 on a network you trust.
Scanning a Roll #
- Put the film in the holder and push it into the scanner until the first frame is in place.
- Choose the film type: Color neg, Slide or B&W neg.
- Press Preview, crop, and adjust.
- Set the roll name and frame number, pick a resolution, and press Scan.
- Move the holder to the next frame. The frame number counts up by itself.